| Setting up the controller | |
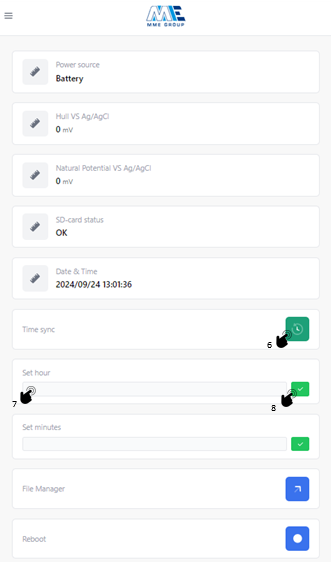
| 1. | SD card slot |
| 2. | Power toggle |
| 3. | Date (DD/MM/YYYY) and time (hh:mm) |
| 4. | Power icon |
| 5. | Wifi icon: indicates wifi |
| 6. | Hull vs Ag/AgCI: measurement Hull vs Ag/AgCL |
| 7. | NP vs Ag/AgCL: measurement Natural Potential vs Ag/AgCL |
| 8. | Potential shift |
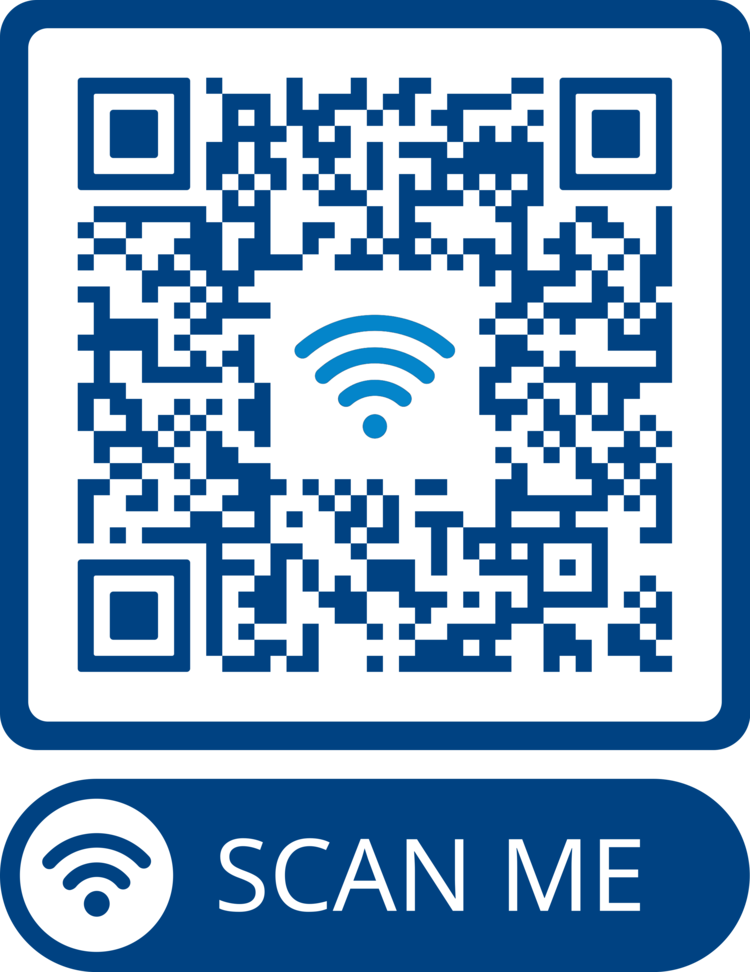
1*: Sometimes, mobile web browsers automatically redirect to https://192.169.4.1 for security reasons, but this URL won't work. If you encounter this issue, please ensure that you are connected to wifi network (as it may disconnect after a reboot) and that you have the correct URL open.
Objects protected by our ICCP systems include:
Seagoing vessels (all ship types)
Offshore platforms and rigs
Offshore Wind Farms (OWF)
Harbour quay walls
Jetties, docks and piers
Locks and floodgates
Pipelines
Other steel structures that are immersed in water
The quality and reliability of MME Group ICCP systems is confirmed by decades of flawless operation of more than 1100 systems installed on ships and other marine objects all over the world.
MME Group ICCP systems are engineered and manufactured at our head office production location in The Netherlands.